RubyMine(その他InteliJのIDE)でoh-my-fishを使う方法
コラビットの川原です。
本日はRubyMine(その他InteliJのIDE)でoh-my-fishを使用する方法を説明します。
そもそもfishって?
shellには色々種類があります。
Mac OS標準搭載のbash、カスタマイズすると捗るzsh、そしてfish。
fishは2005年に誕生した、比較的新しいshellです。
特に補完機能が優れており、コマンドで作業する際に捗るツールです。
個人的にはカスタマイズしたzshとそれほど違いを感じていませんが、
新しいという言葉に弱く、乗り換えてみた次第です。
fish is a smart and user-friendly command line
shell for macOS, Linux, and the rest of the family.
oh-my-fishとは
fishを拡張してより便利に使うためのツールです。
例えばgitにおいて、ブランチをすぐ確認できたり、コマンドをより簡単に使えたりします。
zshではoh-my-zshがありますが、それのfish版です。
Oh My Fish provides core infrastructure to allow you to install packages which extend or modify the look of your shell. It’s fast, extensible and easy to use.
https://github.com/oh-my-fish/oh-my-fish
fishおよびoh-my-fishのインストール方法
Mac OSでのインストール方法を説明します。
fishのインストール方法
brew install fishsudo vi /etc/shells # 末尾に /usr/local/bin/fish を追記chsh -s /usr/local/bin/fish # デフォルトをfish に指定
oh-my-fishのインストール方法
curl -L https://get.oh-my.fish | fish
簡単ですね♪
RubyMineでの設定
続けて、Macの場合で書きます。
アプリケーションメニュー > IntelliJ RubyMine > Preference を選択します。
Tools > Terminalと左側のメニューから選び、Shell pathにfishのpathを入れます。
おそらく下記になるはずです。
/usr/local/bin/fish
心配ならwhich fishで確認してみてください。
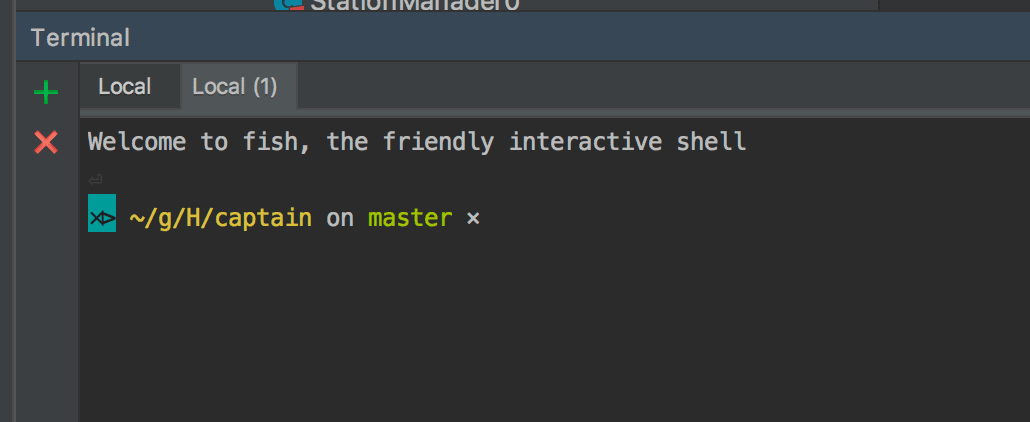
これでRubyMineでfishが使えるようになります。
次にRubyMineデフォルトのfishのコンフィグファイルのリンクを変更します。
rm -r /Applications/RubyMine.app/Contents/plugins/terminal/fish/ln -s ~/.config/fish /Applications/RubyMine.app/Contents/plugins/terminal/fish
上記のようにしないと、Terminal起動時にfishでWarningがでます。
かつ、oh-my-fishも使えません。
環境によって、若干pathが違うかもしれませんので、適宜ご確認ください。
以上で設定は完了です。